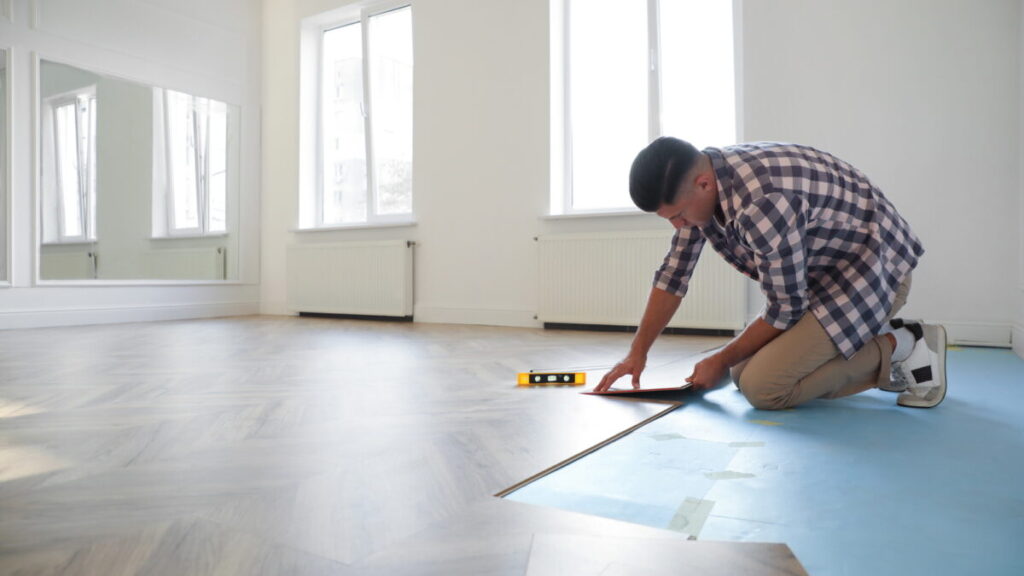
Beginner’s Guide to Installing Vinyl Flooring Like a Pro
Fresh floors can transform a room faster than new paint. Yet many beginners hesitate, thinking installation requires expensive tools and advanced skill. The truth is that modern click-lock planks turn a once-specialized change into a easy weekend project. With correct measurements, regular pacing, and a few vital preparations, even first-time DIYers can create a durable, water resistant surface that looks like it was laid through a master. This overview removes guesswork by mapping each phase, explaining why vinyl flooring matters, and offering practical tips you can trust to work on day one.
What You’ll Need
Gathering the right supplies keeps the job smooth.
- Measuring tape and square
- Fine-tooth utility knife or laminate saw
- Rubber mallet and tapping block
- Spacers for expansion gaps
- Straightedge and pencil
- Quality underlayment
- Moisture barrier for concrete slabs
- Vacuum and cleaning cloths

Prepare the Space
Inspect and level the subfloor
Irregularities larger than a grain of rice show through thin planks. Fill low spots, sand high ridges, and confirm the surface is bone-dry.
Remove molding and doors
Pry off baseboards and cut door jambs with an off-cut of plank as a height guide. Boards will then slide under trim for a seamless look.
Acclimate the planks
Store cartons flat in the room for at least 48 hours so the material settles to local temperature and humidity. Skipping this can cause future gaps.
Plan Your Starting Row
- Measure room width.
- Divide by plank width to check whether the last row will be narrower than half a plank.
- If so, trim the first row for balance.
Tip: Maintain a 6–10 mm expansion gap around walls. Spacers hold it until the floor is finished.
Installation Steps
Click-Lock Floating Method
- Lay underlayment perpendicular to planks, taping seams.
- Set first plank tongue side to wall.
- Add next plank at a 30° angle, press flat, and tap joints tight.
- Stagger end seams at least 20 cm from the previous row.
- Cut boards with knife and snap, or saw for thicker stock. Use off-cuts to start new rows.
- Continue across the room. Rip final boards lengthwise, preserving the expansion gap.
Glue-Down Method (Optional)
- Trowel pressure-sensitive adhesive in small sections.
- Lay planks, rolling each zone with a 45 kg flooring roller.
- Wait the full cure time—often 24–48 h—before heavy traffic.
Finishing Touches
- Remove spacers and reinstall baseboards.
- Caulk edges in wet areas.
- Rehang doors, trimming bottoms if needed.
- Clean with a pH-neutral solution and a damp mop.
Frequently Asked Questions
- How long will the job take?
A 12 m² room is achievable in a single day when preparation is complete.
- Is underlayment always required?
Floating floors need it for cushioning and vapor control. Glue-down planks may not, depending on product specs.
- Can large appliances sit on new planks?
Floats yes; glued floors after adhesive cures.
Conclusion
Step-by-step planning turns a daunting enhance into an fun DIY. By leveling the base, balancing rows, and locking joints with care, you acquire a hard-wearing surface that resists moisture and every day scuffs. Add ending trims, give the room a rapid clean, and admire a transformation that provides lasting relief and fashion via vinyl flooring.
